

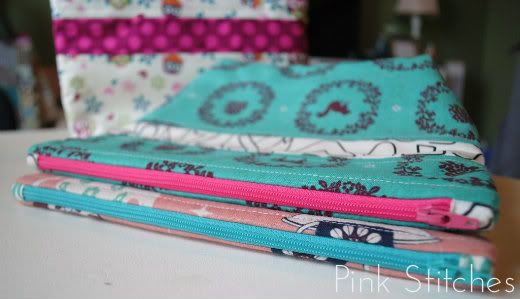
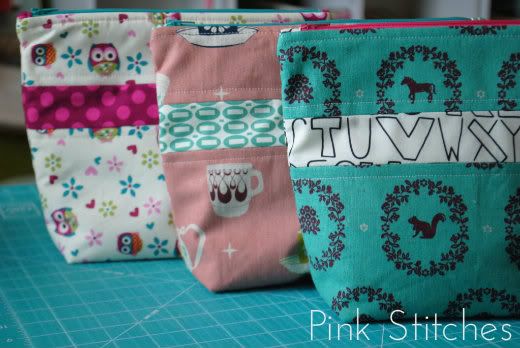
Here it is! The Striped Zipper Pouch Tutorial. I first made these earlier this year for my shop and I was amazed by all the requests I got for a tute. I know there are a ton of zipper pouch tutorials out there and by no means do I consider this a super original concept or idea. This is just something I came up with one day and am here to share it with you so you can make your own.
Pouches are super fun to make and are the easiest go-to project for gifts or if you just want to showcase some really cute fabric. Plus, they're so practical. Who doesn't want another zipper pouch?!
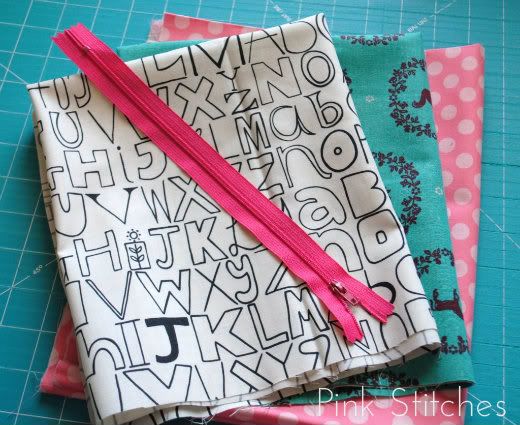
Here is what you'll need:
- 3 different fabrics (fat quarters will do unless you are using directional prints)
- a 10" zipper
- cotton batting
- coordinating thread
- lightweight fusible interfacing is OPTIONAL*
*I chose not to use interfacing in this tutorial because I used linen blend fabrics for my pouches. You might want to add a layer of interfacing if using quilting weight cotton. But it is completely up to you.
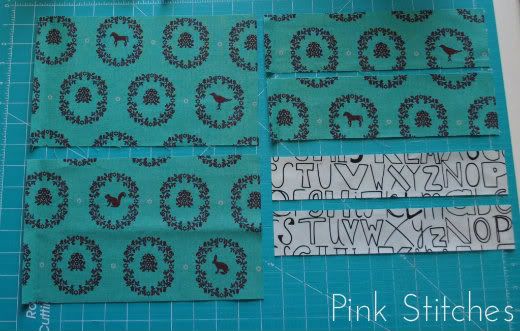
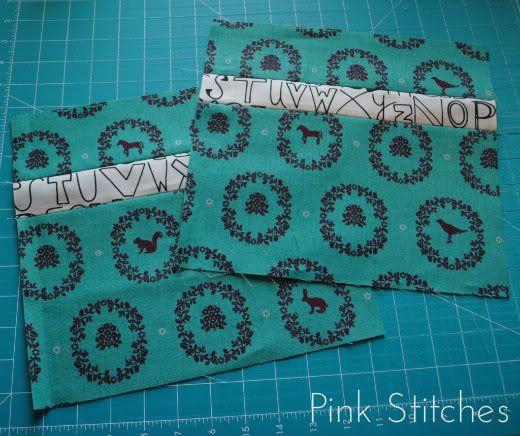
First you need to cut your fabric as follows:
Outer main- (2) pieces 3" x 11" and (2) pieces 6.5" x 11"
Outer stripe/band- (2) pieces 2" x 11"
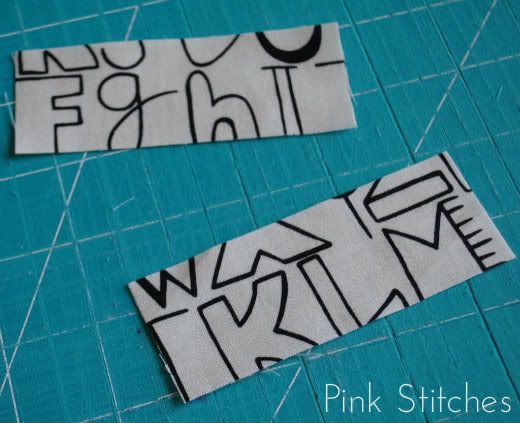
Zipper tabs- (2) pieces 1.5" x 4"
Lining- (2) pieces 10.25" x 11"
Cotton batting- (2) pieces 10.25" x 11"
Interfacing- (2) pieces 10.25" x 11"
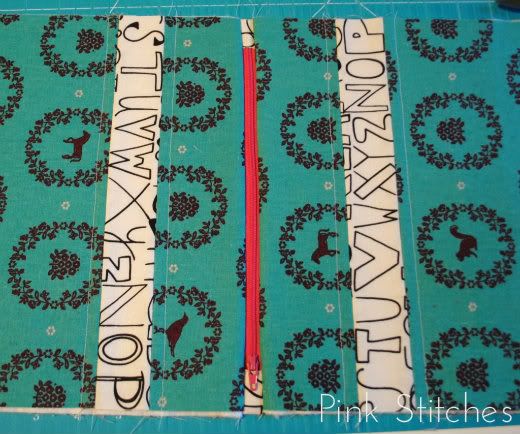
Sew your outer pieces in the order according to the picture below using a 1/4" seam allowance.
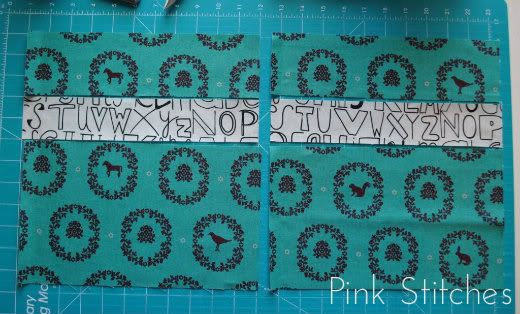
Press seams open.
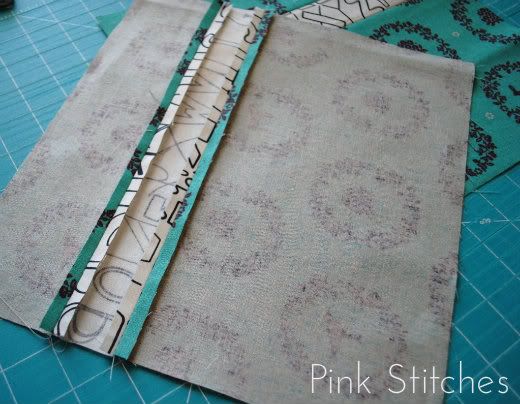
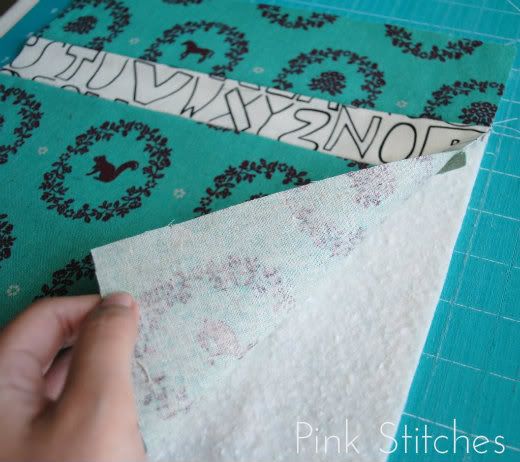
Your outer pieces should look like this and measure 10.25" x 11". If you're adding interfacing, now is the time to do it. Fuse the interfacing to the main outer pieces, as per manufacturer's instructions.
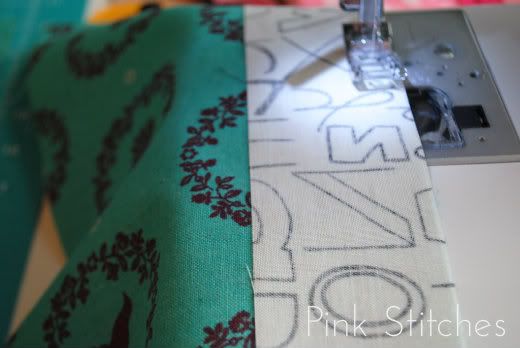
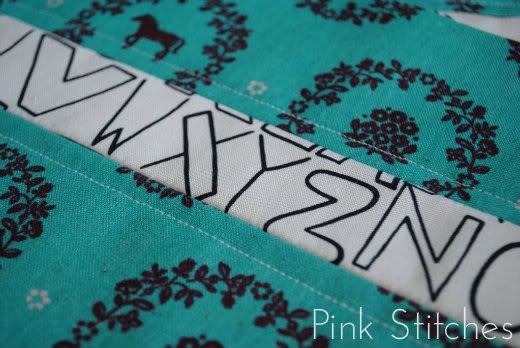
Place one main outer piece over one piece of batting and top stitch 1/4" on either side of the middle strip. Repeat this step with other main outer piece.
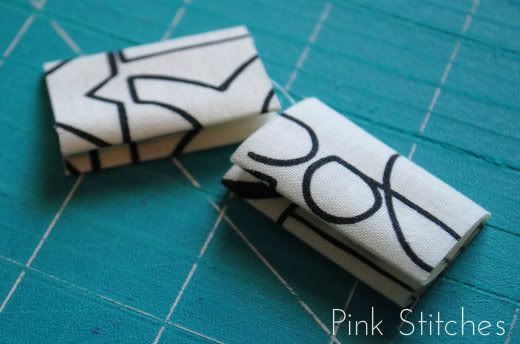
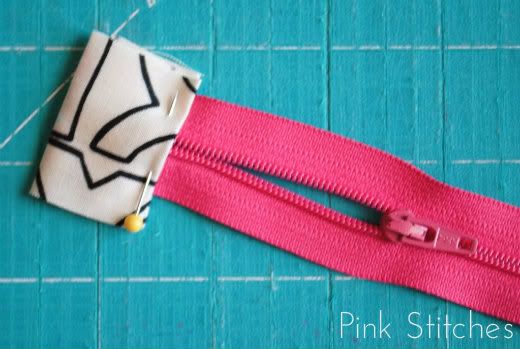
Set these pieces aside. Now grab your zipper tabs and press them in half length-wise.
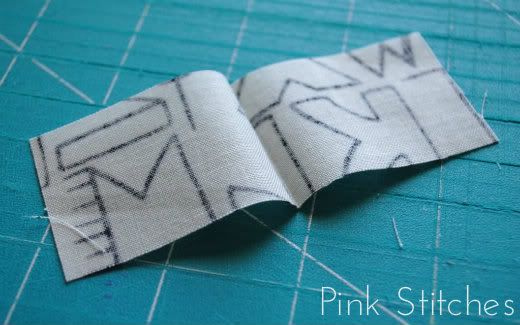
Press the raw edges towards the center crease and fold again.
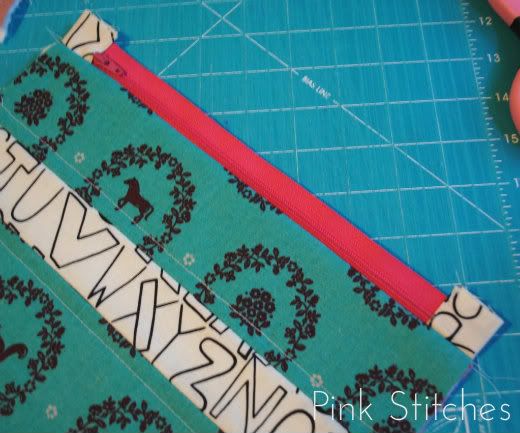
Snip off the zig zag edges from your zipper so that you can keep your zipper tabs straight when you're sewing them on.
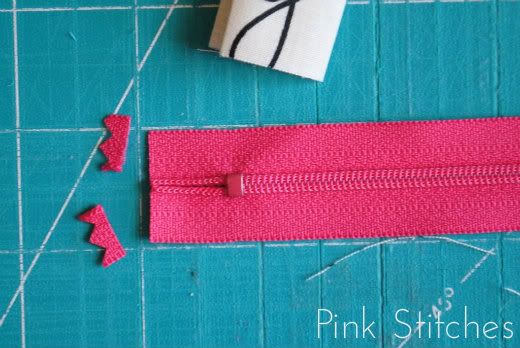
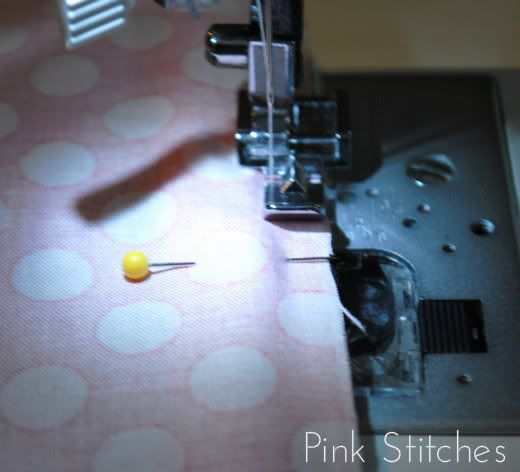
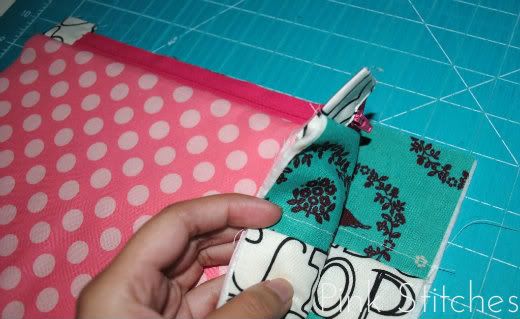
Open your zipper a few inches and pin the zipper tab onto one side.
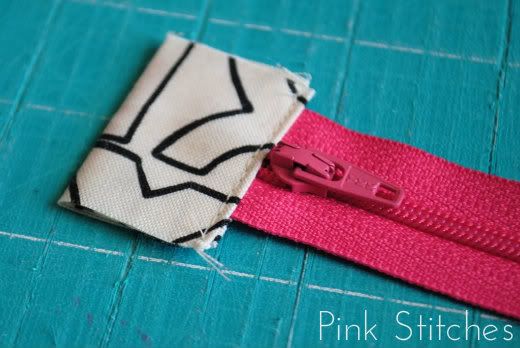
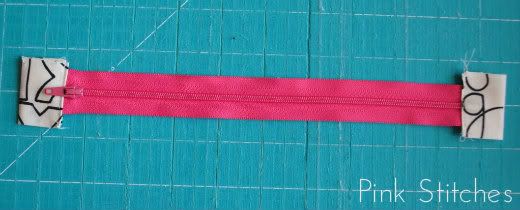
Top stitch as close to the edge as you can, removing the pin as you do and being VERY CAREFUL not to sew over the metal end of the zipper. Now repeat with the other side.
Place one of your main outer pieces on the table right side up. Open the zipper a little and place face down along the top edge of your main outer piece. Zipper should be towards your left side.
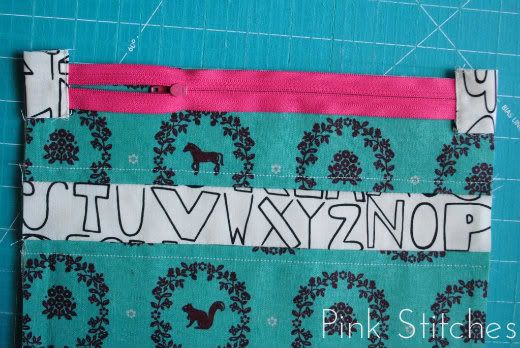
Now place one of your lining pieces wrong side up along the top edge of the zipper.
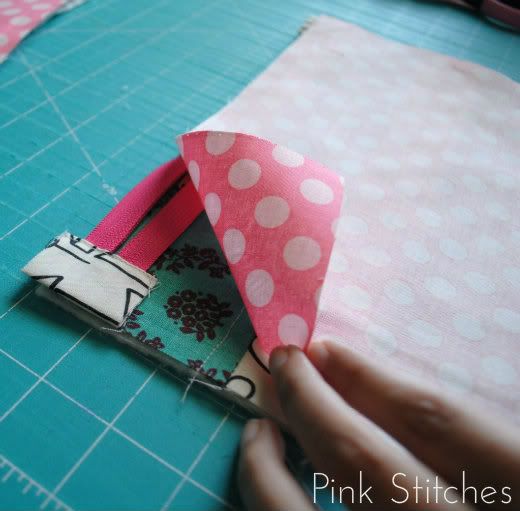
Pin everything in place.
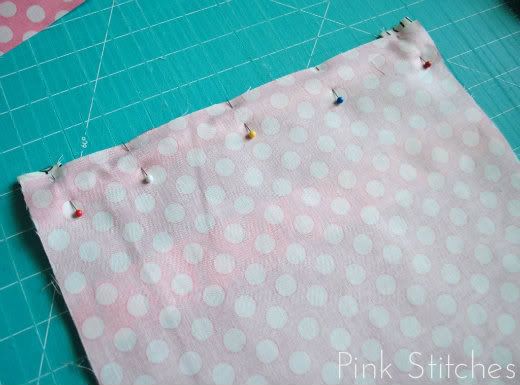
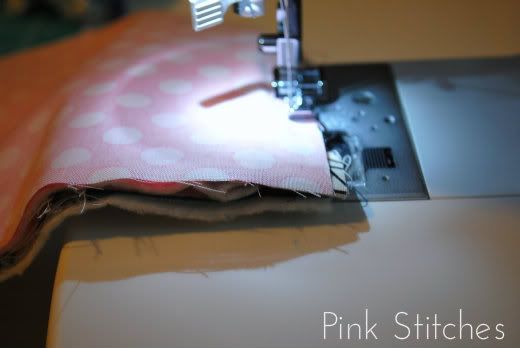
Attach your zipper foot and sew along the top edge of the sandwich you just pinned. Remove the pins as you go along. When you reach the zipper pull, lift your zipper foot, move the zipper pull back up along the edge you just sewed. Your zipper should now be closed. Put your zipper foot back down and continue sewing all the way across.
Pull your fabrics back away from either side of the zipper, and press.
Now place your remaining outer piece on the table right side up. Place your assembled zipper piece over the main outer piece on the table, zipper side down. This time, your zipper pull should be towards your right side. Align the top edges.
Place the remaining lining piece wrong side up over the zipper and pin in place.
Sew along the top edge, removing the pins as you go.
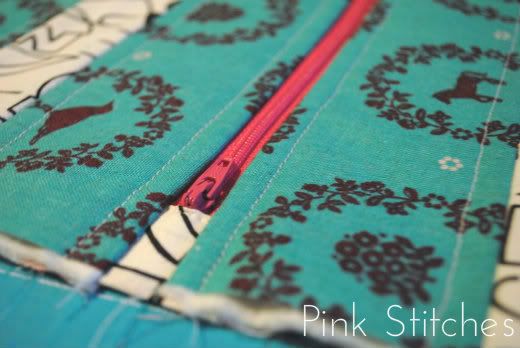
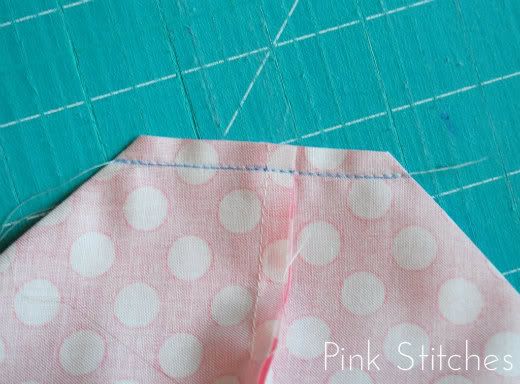
Press both sides of fabrics away from the zipper.
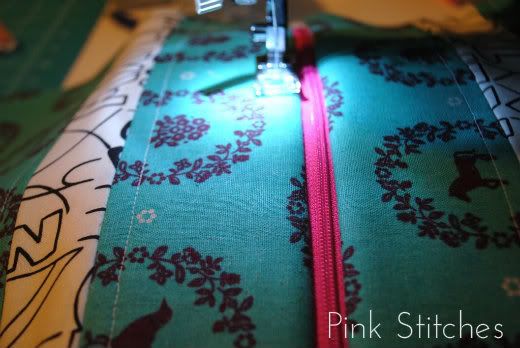
Replace your regular zipper foot and top stitch along either side of the zipper.
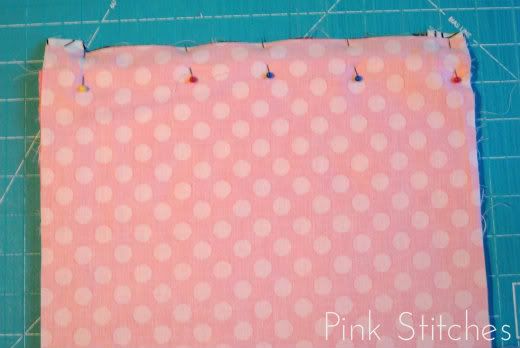
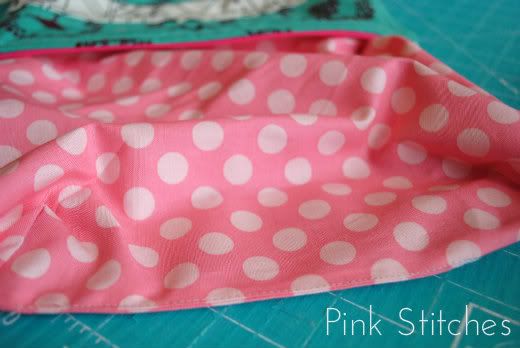
Join the main exterior pieces facing right sides together and the lining pieces facing right sides together. Sew along the perimeter, leaving a 3" open at the center of the lining pieces for turning later. Make sure the zipper is pushed towards the lining side.

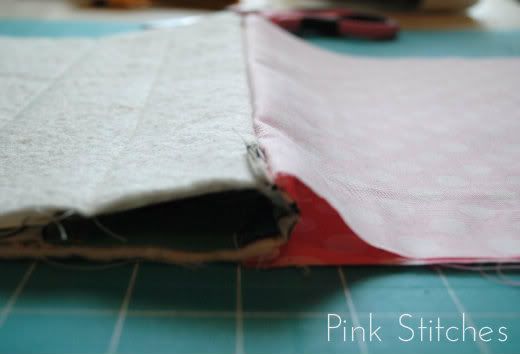
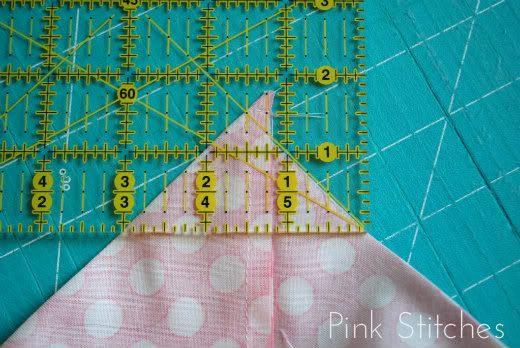
Now you're going to box your corners. Grab one corner of your lining piece and position it so that the seam allowances are matched up on top and bottom, forming a triangle. Press in place and mark a 3" gusset (as shown in picture below). Sew along your line.
Cut off excess fabric, leaving about 1/4". Repeat with the other three corners.
Turn the pouch right side out and sew the opening closed.
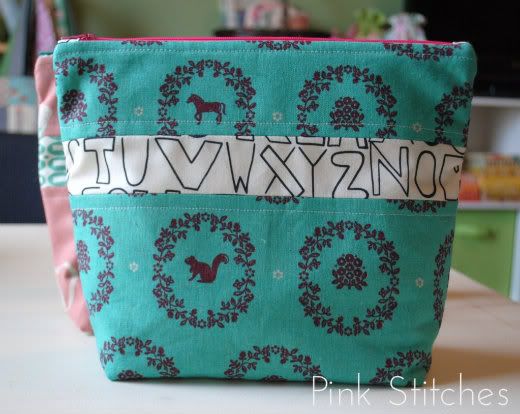
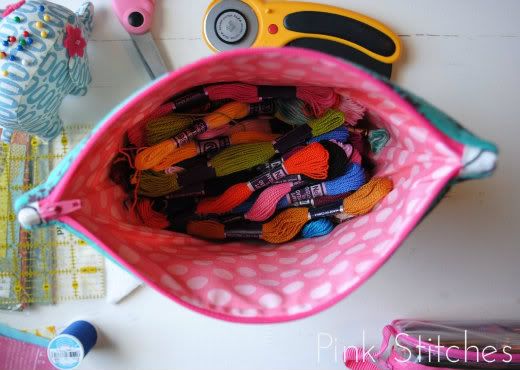
Press all your seams generously and admire your new pouch! Finished dimensions are approx. 8.5" x 10.5" x 3", large enough to make the perfect travel or cosmetic pouch.
**If you have used any tutorials by Pink Stitches, please post your pictures on the Pink Stitches Flickr Group! I'd love to see your beautiful creations and feature some of my favorite projects!**
I saw these photos the other day and showed my sister....very pretty!!! Juxtaposed patterns are a fave of mine!
ReplyDeleteEeeep, I am totally all over this project! Thanks for the awesome tute, girl!
ReplyDeleteGreat tutorial Bonnie! I lurrve zipper pouches, they make such good gifts.
ReplyDeleteGreat tutorial! I didn't know how to make those little tabs on the zipper.
ReplyDeleteyou are a rock star :)
ReplyDeleteI'm always keeping my eyes open for good zipper pouch tutorials and yours is a keeper! I love how you keep your edges square by adding the tabs to your zipper ends. I'll definitely keep this among my to-do's!
ReplyDeletecute cute cute cute cute! love them!
ReplyDeleteThis is a great tutorial and fabulous pouches! Thanks!
ReplyDeleteOkay, you made this so straightforward, I think I can actually follow along and do it! Thanks so much, I'd love to try this. And I love that fabric with the letters on it. That's really cute! do you know offhand who makes it? Thanks again for all the work you put into photographing and doing the tutorial!
ReplyDeleteLiz
Thanks for the great tutorial, can't wait to give it a try. Happy week! Robyn (new follower)
ReplyDeleteThis would make a great lunch bag as well if you use PUL fabric on the inside and maybe small handles on the sides ;)
ReplyDeleteI love the blue fabric with animals on it that you used, do you know the name of it? I hope!
ReplyDeleteI have never figured out how to make these with the lining this way. I followed your directions and pictures exactly, and held my breath. I have absolutely no spatial reasoning, so can't picture what I can't see, so when I got to the last few steps, I just sewed and hoped it worked! I have tried it numerous times from other sites, but this one is the BOMB!! Great work. (I found it on Pinterest.)
ReplyDeletePS, my email is (remove spaces) karenhopecurtis @ gmail. com
ReplyDeleteGorgeous tutorial! Thank you so much for posting!
ReplyDeleteHmmm... I followed the tutorial, and everything turned out great except that mine isn't flat on the bottom. (It doesn't sit up on it's own.) I'm not sure how I messed it up. It's still pretty darn cute though!
ReplyDeleteThis is a great tutorial. Thanks!
ReplyDeleteThank you - these are really nice and neat. My zipper ends are awful so I'm going to try your excellent method on my next pouch. :)
ReplyDeleteSegui e ficou lindo o meu zippy pouch!! Tkanks
ReplyDeleteDid you use a 1/4 seam allowance for the entire pouch?
ReplyDeleteI'm pretty sure the instruction "Make sure the zipper is pushed towards the lining side" is incorrect. I've made about 7 of these bags and whenever I follow this instruction and photo, the top corners will not turn nicely. If I do the opposite, they turn nice and boxy.
ReplyDeleteAm I crazy?!
Thanks for your tutorial. It’s very to sew this pouches, I think I want to do a lot for gifts.
ReplyDeleteThanks for the tutorial. As soon as I saw your tutorial, I knew which fabric to use. I had been saving it for a fun project like this. Thanks again!
ReplyDeleteMarlene
You won't believe this Seattle Immigration Lawyers
I've made 5 of these pouches so far and your tutorial is the best I've found. But I'm wondering if you have any tips for sewing in the zipper - The lining always goes wonky on me, I guess because of how it has to go over the zipper. So I either end up with little folds here and there where the lining is sewn to the zipper, or it ends up not lining up properly on the edge. I've tried pinning more aggressively, and I've tried not pinning at all. Thoughts? Thanks!
ReplyDeleteNice blog thanks for sharing such an informative blog ,the way you express your views are so easy to understand.
ReplyDeleteVisit our website:
Stand Up Pouch Manufacturers
Zipper Pouch Manufacturers
裸聊直播間 , 裸聊直播間 , 裸聊直播間 , 裸聊直播間 , 裸聊直播間 , 裸聊直播間 , 裸聊直播間 , 裸聊直播間 , 裸聊直播間 , 裸聊直播間
ReplyDelete