Showing posts with label crafts. Show all posts

Monday, March 19, 2012

Meet Ellie! (& Some Flea Market Fancy)


I don't know what possessed me to try making this elephant pin cushion the other night. I bought the pattern from Amy's shop a couple of weeks ago because I fell in love with the cover photo. I knew it'd be a challenge but... let's just say I definitely will not be making these little guys in bulk. Regardless of how difficult this was to make (for me), I love the finished product! And I'm now the proud of owner of a baby elephant named Ellie.
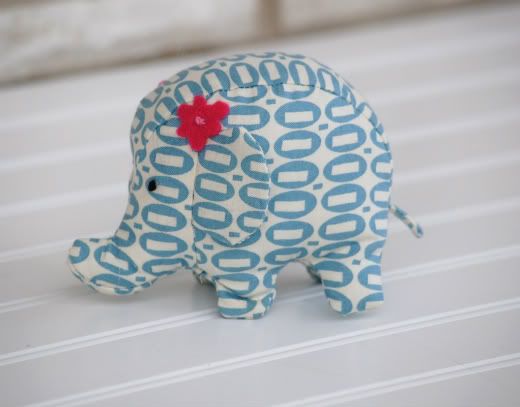
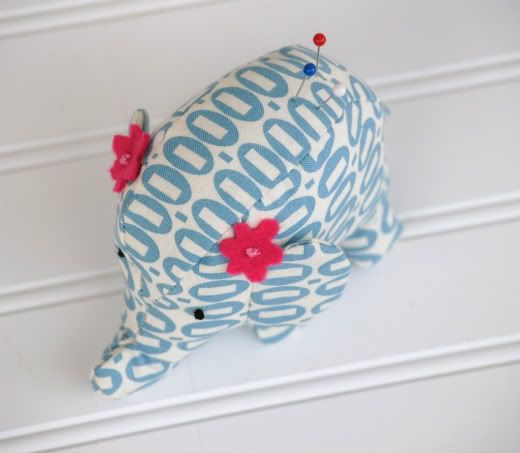


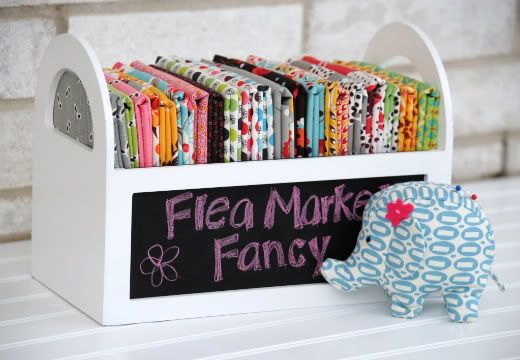
Isn't she the cutest?? She looks even cuter on my sewing table. I have been wanting a cute little pincushion like this for the longest time!

I'm also the proud new owner of a half yard bundle of Denyse Schmidt's re-released line "Flea Market Fancy"! I pre-ordered this bundle months ago when I first heard that it was coming back. It finally arrived while I was away for Spring Break. I had a happy little slip waiting on my door for me to pick it up. You better believe I'm hoarding these.
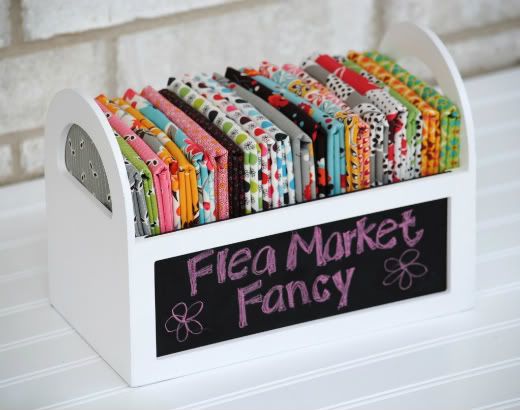
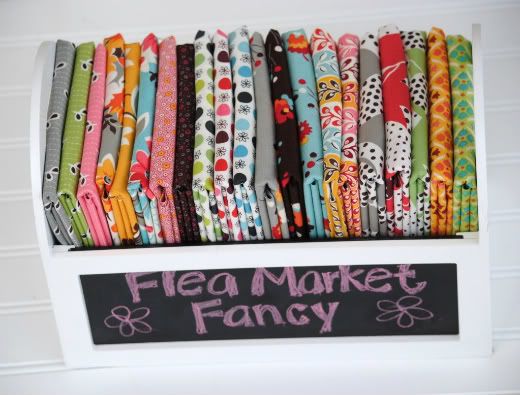


By the way, that cute little white crate? Target. Clearance $7! They have them in many colors so go get some. They're perfect for the craft room. Hope you have a lovely week. Happy sewing!!

Monday, May 23, 2011

Spraypainted Flats

**If you have used this tutorial or any others by Pink Stitches, please post your pictures on the Pink Stitches Flickr Group! I'd love to see your beautiful creations and feature some of my favorite projects!**

I must be crazy! Who else would spray paint their shoes??!


Well, honestly, I had seen another blogger do this so I guess I'm not the only crazy girl out there! If you'd like to join in on the craziness, here is what I did.

Start off with an old pair of flats.


Stuff them with newspaper or paper towels and tape off the rims.


I think any spray paint would work with this project but I used Valspar (They only had Gloss in the color I wanted but the shininess will wear off with use).


Start spraying! If you don't trust yourself to distribute even coats (like me), ask the hubs to do it. Aww, he's wearing the shirt I made him!


Let dry for a few hours.


Peel off your tape and admire you new shoes!


If you're wondering about my weekend, I had a blast in San Antonio with my family! Unfortunately, I forgot my camera!! So the pics will have to wait until I can steal some from my sister (who blogs at vivre). I've got a lot of stories and adventures to share with you but I'll leave them until I can get my hands on those pictures!

Sharing this post at these fine places.

Monday, April 18, 2011

The Whimsy Bicycle Tee (Tutorial)

**If you have used this tutorial or any others by Pink Stitches, please post your pictures on the Pink Stitches Flickr Group! I'd love to see your beautiful creations and feature some of my favorite projects!**


I am totally loving this cute tee I made! I got the idea from an A&F shirt I had seen that cost something like $40!! I can't believe I used to pay that much money for a t-shirt. Guilty as charged!

But now, I have my handy dandy Silhouette machine and I can do anything! Here is what you'll need to make this shirt:


- Plain Tee (mine was on Target clearance)
- Hot Pink Smooth Heat Transfer Paper (or any color you want)
- Scraps of fabric
- Liquid Stitch
- Iron
- Needle and Thread

It would be nice to have a Silhouette Machine but if you don't, I'm sure a Cricut machine can do the trick or you can just free hand it!

First, cut out a picture of a bike with a basket on your Heat Transfer Paper (plastic side down). I found my picture on the Silhouette Library (.99 cents). Make sure you mirror your image horizontally if you're including text, like I am. Peel off access paper.


Position the image onto your shirt where you want it (plastic side up). Text should read correctly now.


Place a sheet/ spare fabric/ thin towel over the image and press (iron) for about 45-60 seconds. Just follow the directions on the Heat Tranfer Paper box.


Peel off the plastic. If the image still comes up with the plastic, press again.


Now bust out your scraps of fabric (preferably thin, but it's up to you) and your Liquid Stitch.


Scrunch up your fabric strip, accordian style. 


Apply a bit of glue to the bottom and position on your bike basket. Continue doing this with your fabric scraps until you have the desired amount of "flowers" in your basket.


Hand stitch flowers in place so they'll be safe to wash. Just a few stitches on each scrap should be fine. This is also the time to re-adjust the flowers to look as you want them to.


And you are DONE! You are left with pure cuteness!!


Linking this up to these lovely places.

Don't forget, there is still time to enter my Bloggiversary Giveaway! You can win all of this:


You have until Thursday night. I will announce the winner on Friday. Have a great week!!!

Tuesday, March 29, 2011

With The Husband

My hubby was home this past week on his days off and I was delighted to finally receive a request from him! I've been asking him forever if there is something he would like for me to make him, and of course there wasn't. My options are kinda limited with him. He is so down to earth and happy with the simplest, plainest things. 

His hobby is a looooooot bigger and more expensive than mine. He likes to build trucks. He is currently working on an old Chevy C-10. Don't even ask me the year, I am so bad at that stuff. Anyway, he had shown me some t-shirts last week that he wanted to order. But when he saw me working on the onesies with my lovely Silhouette machine, he went to Wal-Mart and bought a pack of white t-shirts instead. We started looking up fonts online and settled on this cool graffiti font.


The shirt was pretty simple to make but it was so fun working side by side with my husband. He was so adorable, even helping me iron the freezer paper to the shirt. He didn't want to paint though, afraid he'd mess it up.


It turned out pretty cool. As long as he loves it, I'm super happy. He went back to work today and I'm missing him like crazy already!

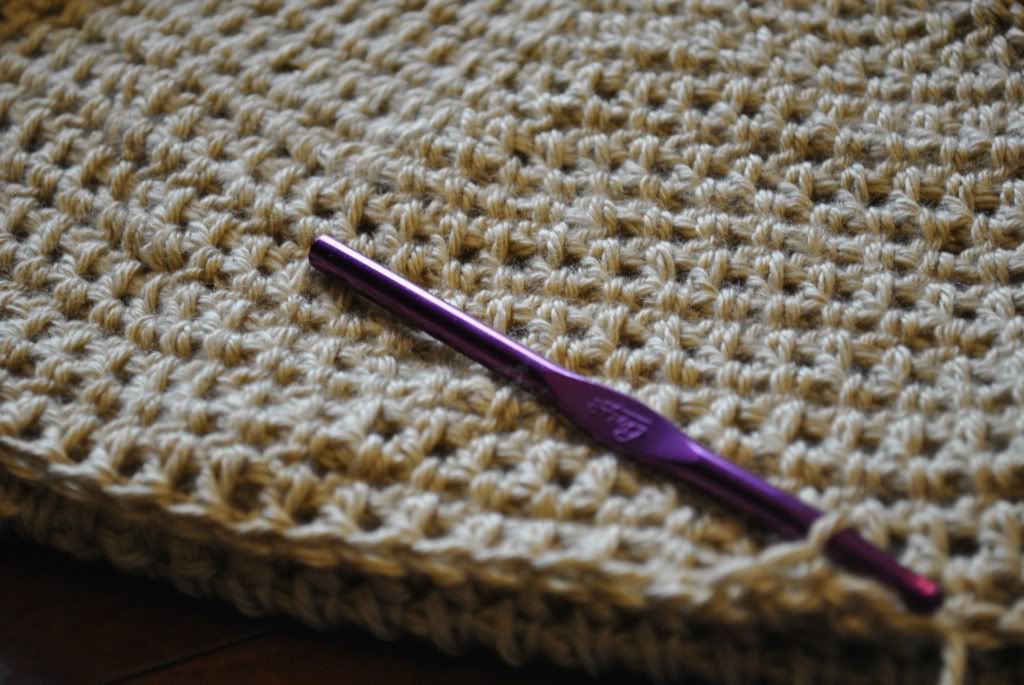
I've been pretty preoccupied lately with my crochet. I'm makin a little surprise but here's a sneak peek!


What do you think it is?? I love crocheting. The only bad thing is that it takes a lot longer to make something, as opposed to sewing. Buuuut the good thing is that I can crochet while I'm watching a movie with my son or while he's playing outside. I don't have to be confined to my craft room :-)

Have a Happy Tuesday!!!

Monday, March 21, 2011

How To Embellish Your Bag

**If you have used this tutorial or any others by Pink Stitches, please post your pictures on the Pink Stitches Flickr Group! I'd love to see your beautiful creations and feature some of my favorite projects!**


I bought a beautiful lime green leather purse on sale last summer. It's a Fossil shopper and since I bought it in late August, I got a great deal (from $140 to $30!!). It's pretty but too plain so I added some cute fabric flowers to spruce it up for spring. Here's a little tutorial for you!


You will need:
- a purse
- fabric scraps at least 2" wide (I used jelly roll strips)
- safety pins
- needle and thread


First, press the strips in half (length wise)


Set your sewing machine to the tightest tension (mine is 9) and the longest stitch.


Sew along the raw edges of the strip, using a 1/8" seam allowance. Do not backstitch. You are going to create a ruffle so you need the thread ends to be loose (if that makes sense).


You'll be left with something like this.


Start rolling the strip from one end, lining up the raw edges as you go.


With your needle and thread, sew together the ends that you are rolling.


Roll a little, then stitch again. Repeat until you roll up the entire strip.


Before you fasten off the thread, grab a safety pin and sew onto the bottom of your flower. Fasten off.


Turn your flower around and spread out your "petals" to make it look more like a flower.


Make as many as you want for your purse. You can even play around with the measurements of the fabric to make smaller or larger flowers.


Attach them to your purse with the safety pins and admire your work!


These flowers would also look really cute on shirts, belts, the sky's the limit really! Have a great Monday!

AJ's Own Camera

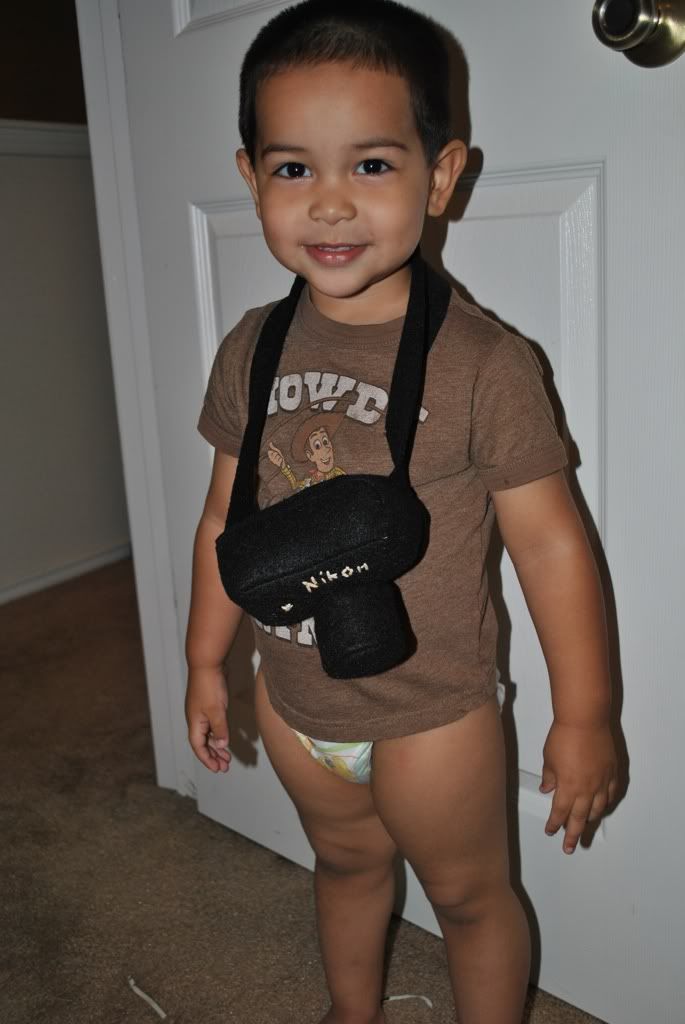
As I mentioned in this post, my husband recently got me a new camera (Nikon D3000). You could say he spoils me a bit :-P Well my son has been forbidden to play with this one. I used to let him grab my old one and pretend to take pictures. I hate to see my little monkey pout over something he still doesn't understand. So when I found this adorable toy camera at See Kate Sew's blog, I knew it would be the perfect gift for him.


Aww he loves it! He played with it all evening until it was time for bed. It was such a fun and easy project. I even let AJ hang around the craft room with me. There was no iron on today :-) I hope this will deter his attention from mommy's new camera. Happy crafting!