**If you have used this tutorial or any others by Pink Stitches, please post your pictures on the
Pink Stitches Flickr Group! I'd love to see your beautiful creations and feature some of my favorite projects!**
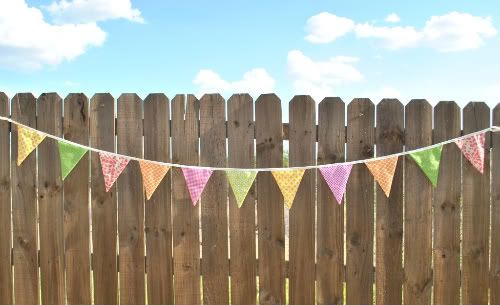
So I've been working on a bunch of stuff all week and unfortunately, since some of the stuff is for the swap, I'm not able to share it with you guys yet. But, I did make a pennant banner for our next dessert table and I took some pictures along the way so you can make one too!
Here is what you'll need:
- Scrap fabric (no smaller than 8" by 9")
- Ribbon (I used 7/8" grosgrain in antique white)
- Cardstock for your Pennant Template
- Scissors, thread, straight pins
To make your Pennant Template:
Cut a piece of cardstock down to 8" by 9". You can make it smaller or bigger if you wish, as long as you just add one inch to your width to make your length. For example, if you want your pennant to be 4" wide, your length would be 5".
Now, use the image below to make your template.

Measure to the center of your width at the bottom (in this case 4") and then draw a line from that center to each of the top corners of your cardstock. Cut out your template. *Please email me if this is too confusing*
To make your pennant flags:
Place the template on the fabric you're going to use and trace out two flags.
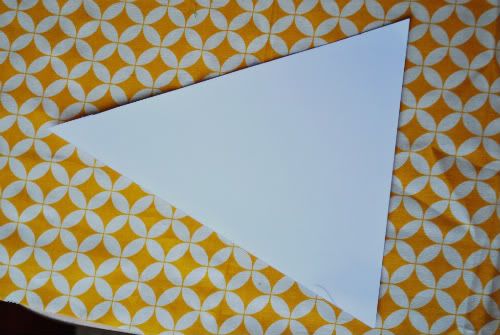
Cut out your pieces.
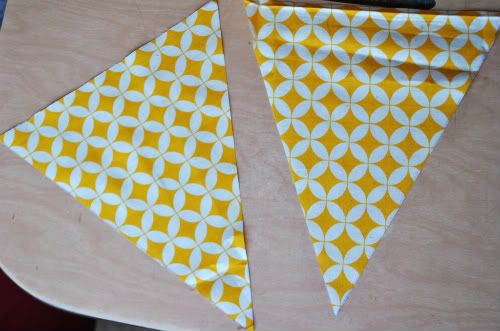
Place your pieces right side together.
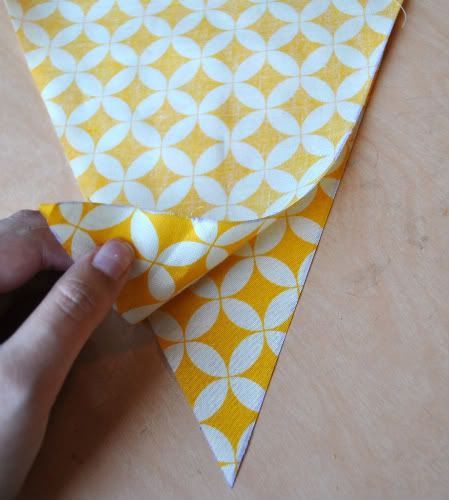
Sew along the two longer sides and clip the corner before turning right side out.
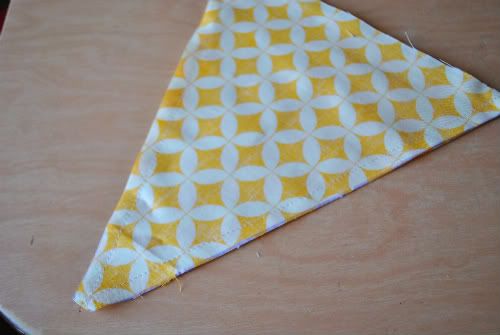
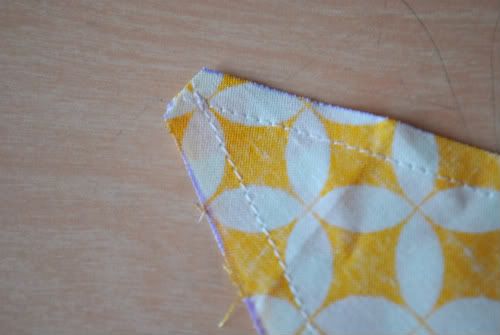
Make the rest of your flags using the same method.
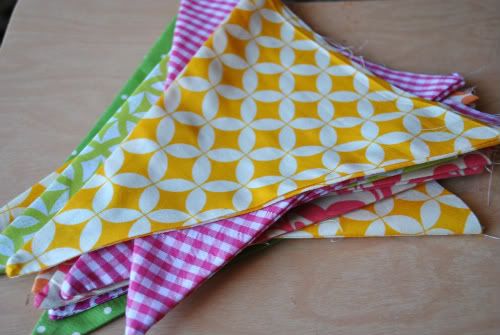 To make your banner
:
Press your ribbon in half lengthwise. (You don't have to but it makes it easier to keep it even throughout the rest of the project)
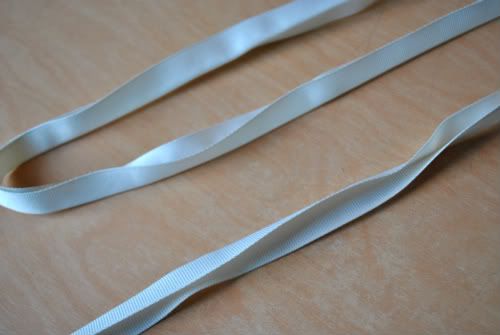
Leave about a foot of ribbon at one end and then pin the first flag in between the fold.
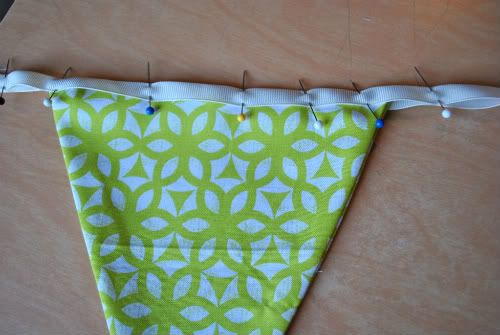
It's up to you how far apart you want your flags. I left about two inches in between each one. Pin the second and third flags.
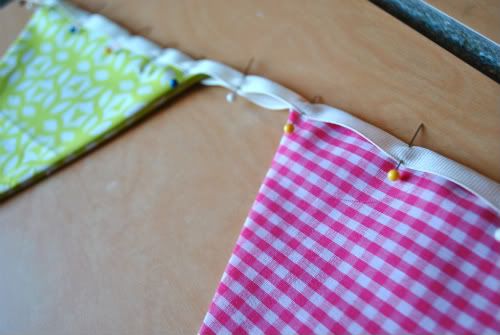
Top stitch the ribbon from the beginning edge to the end of the third flag, keeping it folded. Attach three more flags and repeat until you have sewed on all the flags. I did mine three flags at a time so that I could keep the ribbon pulled and straightened as I went along. When you get to the end of your last flag, leave about another foot of ribbon and cut off the excess. Finish sewing the end in half.
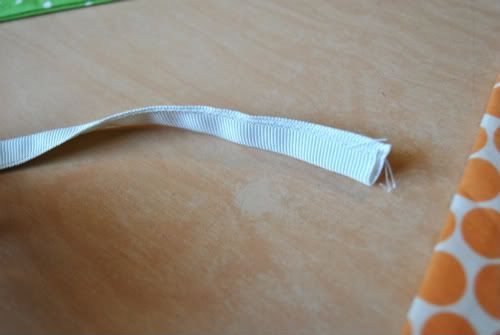
And you are finished with your pennant banner!
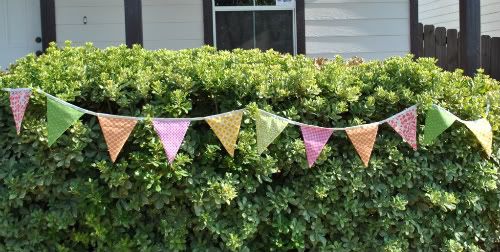
I made mine for our next dessert table but banners like these are so versatile. They can be used for anything! It's going in my craft room after we have finished using it.
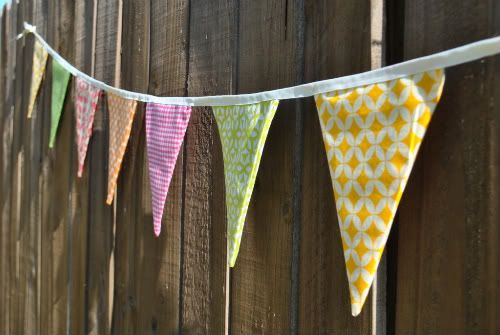
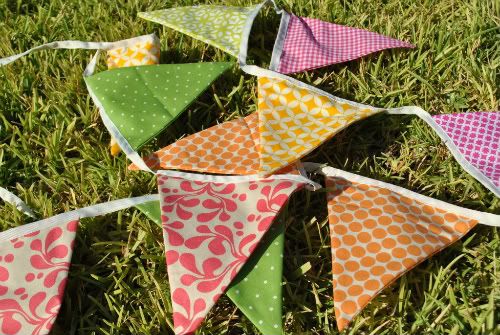
How cute would these look for an outdoor party??
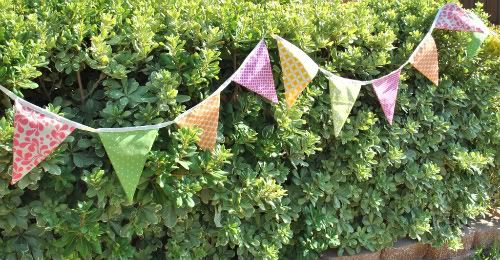
I hope you guys enjoyed this little tutorial and try making these super easy banners for yourselves! They will put a smile on anyone's face :-)