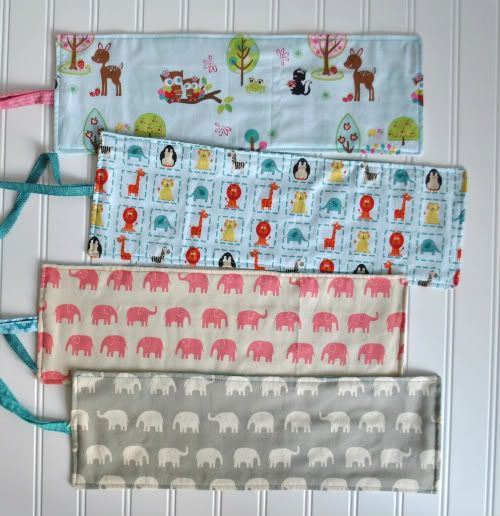
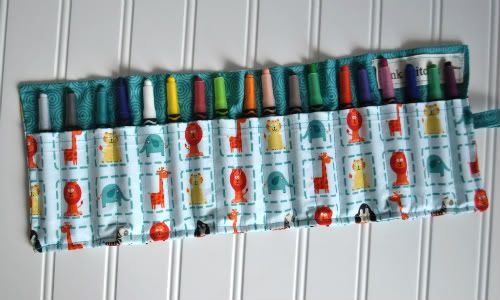
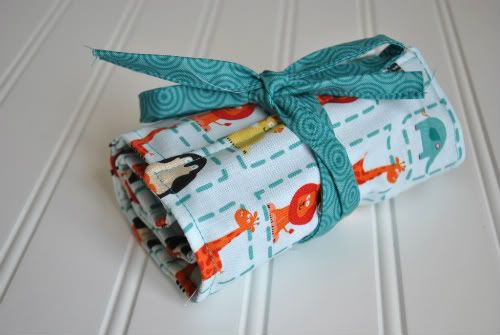
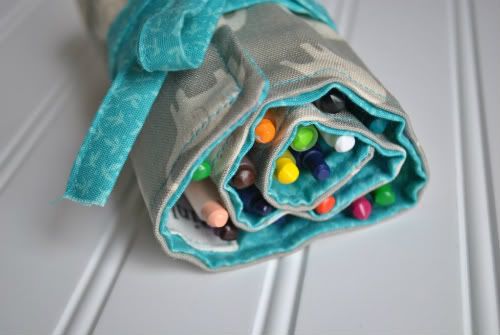
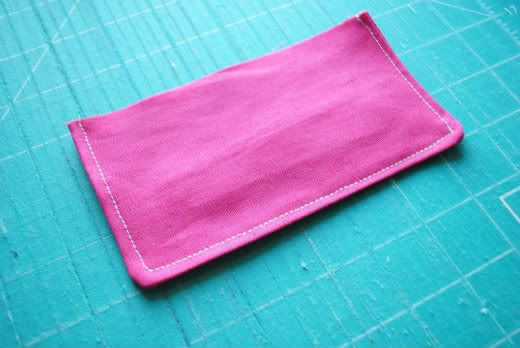
I have been getting a lot of emails inquiring about the Leap Pad Case I had made for AJ. I had put together a pattern that was meant to be tested by some readers and then put in my etsy shop for sale. However, with the closing of my etsy shop, all those plans went out the window. Although, I have since re-opened my shop (yay!), I decided to post the tutorial on my blog for free instead. Thank you all for being so patient!

For this project, you will need the following materials:
- Three different kinds of fabric
- 10" zipper
- 3.5" of sew-in velcro
- cotton batting
- lightweight fusible interfacing (optional)

First off, you're going to cut your zipper lining and flap pieces:
- cut one piece at 7.25" x 9"
- cut one piece at 3.25" x 9"
- cut one piece at 4" x 9"
- cut two pieces at 3.5" x 6.5"

Now you're going to cut your main exterior panels and fusible interfacing:
- cut one piece of main fabric and interfacing at 7.25" x 9"
- cut one piece of main fabric and interfacing at 3.25" x 9"
- cut one piece of main fabric and interfacing at 4" x 9"
Iron the fusible interfacing to the wrong side of these fabric pieces according to the directions on your interfacing.

Last, you're cutting your lining and batting pieces:
- cut two pieces of lining fabric at 7.25" x 9"
- cut two pieces of batting at 7.25" x 9"
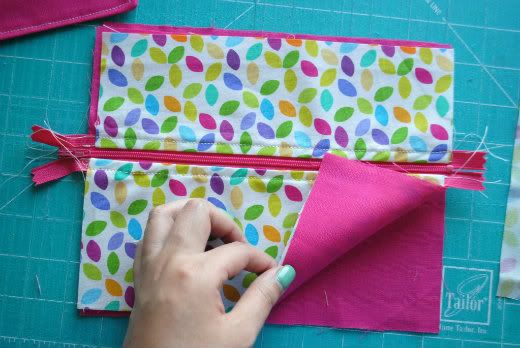
Now let's get started. Place the main exterior 4" x 9" fabric right side up on your table. With the zipper facing down, place it over the main exterior fabric, with the zipper pull on your left side. Now place the 4" x 9" zipper lining fabric wrong side up on top of your zipper. Pin in place.
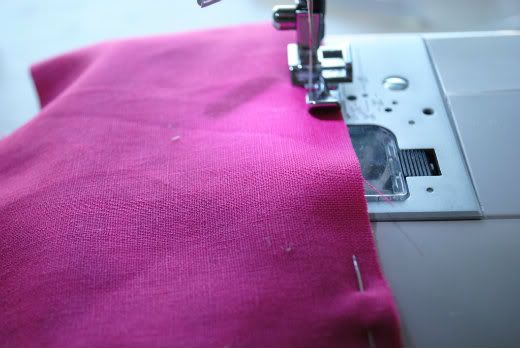
Using your zipper foot attachment, sew along the edge of the zipper.
Pull both fabric pieces to the opposite side so that the zipper is exposed. Press.

Now place your 3.5" x 9" exterior piece on the table right side up. Place the zipper over it facing down, with the zipper pull to the right this time. Now place the 3.5" x 9" zipper lining piece over the zipper, wrong side up. Pin in place and attach the zipper with your zipper foot.
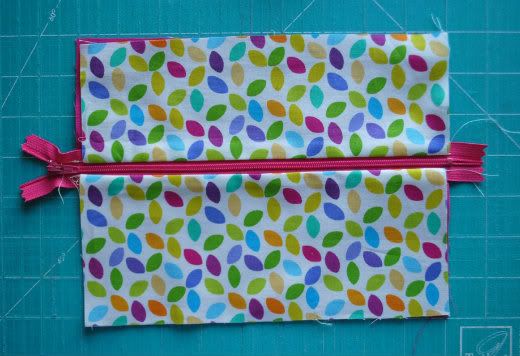
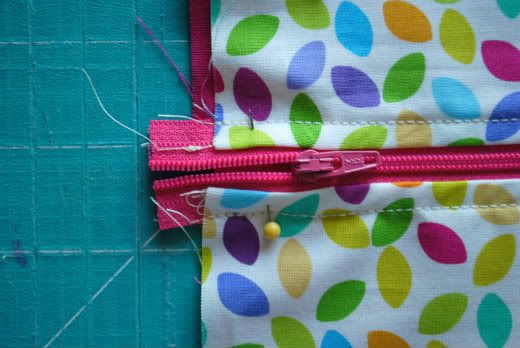
Once you've pressed both sides, you should be left with something like this.
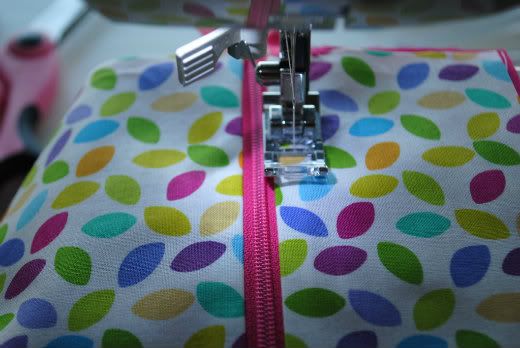
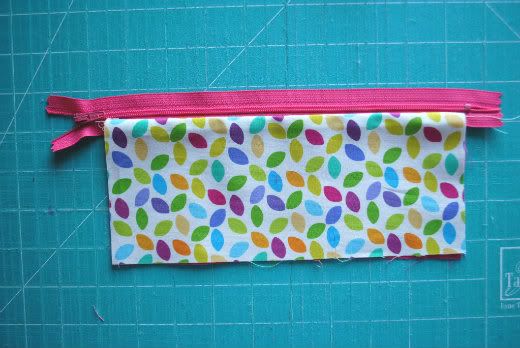
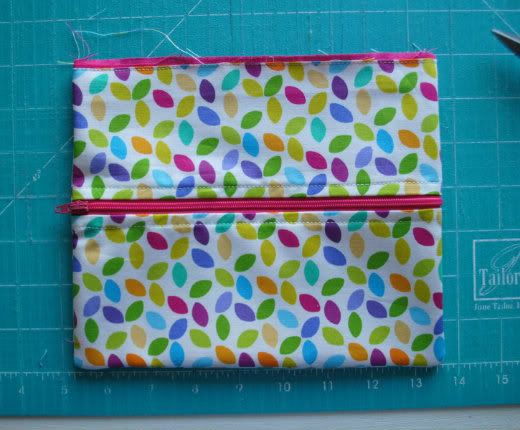
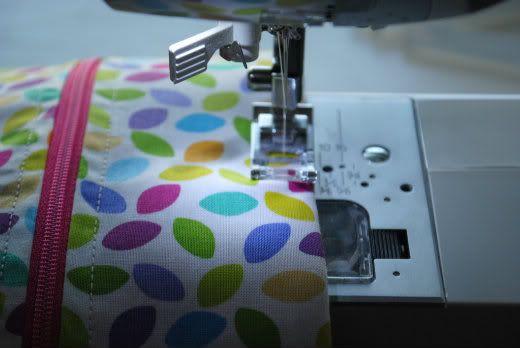
Now replace the zipper foot with your regular foot and top stitch along both sides of the zipper.
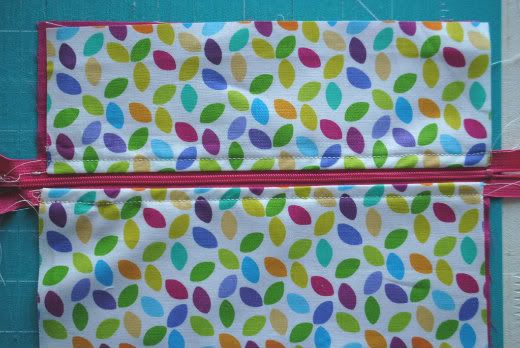
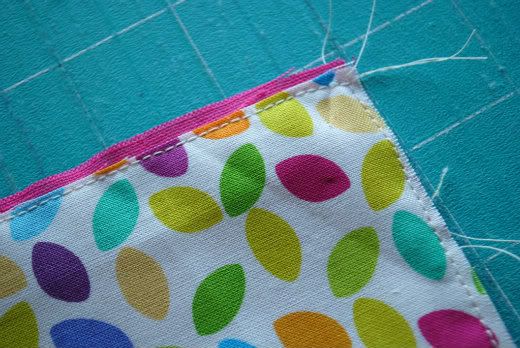
It should now look like this. Don't worry if your fabrics look a little off. We'll get to that later.
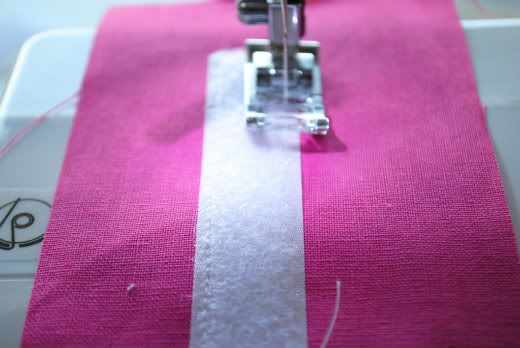
Grab one of your flap pieces and center the softer piece of velcro about 1" from the bottom. Pin in place and sew it on.
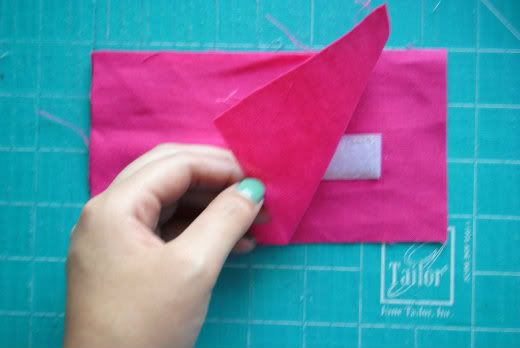
Place the two flap pieces right sides together and sew along three sides, leaving the top open for turning out. **Note- if you wish to add interfacing or batting to your flap, now is the time to do it**
Clip your corners and turn right side out. Using a chopstick or pencil poke out your corners.
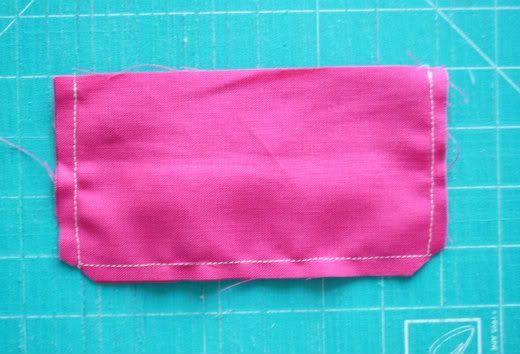
Top stitch along the three closed sides, once again leaving the top open. Set aside.
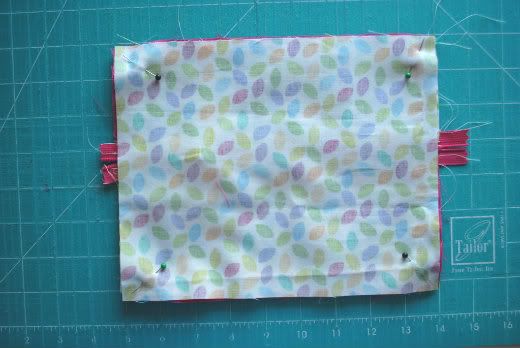
Now place the 7.25" x 9" zipper lining piece on the table right side up. Place the assemble front exterior piece on top of the lining piece also right side up. Pin in place.
Make sure to leave the zipper slightly open so your sewing foot won't get stuck. Use a pin to help keep the two zipper sides together.
Machine baste around all four sides as close to the edge as you can get.
Now place the 7.25" x 9" exterior fabric piece over the assembled front exterior piece, right sides together, leaving the zipper slightly open. Pin in place and sew along three sides, leaving the top open.
Clip corners and trim off the excess zipper. Turn right side out and poke out the corners. Set aside.
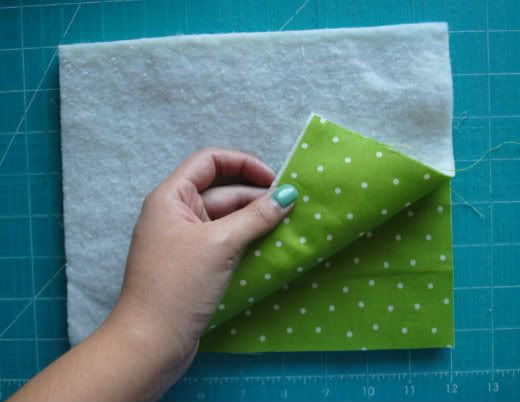
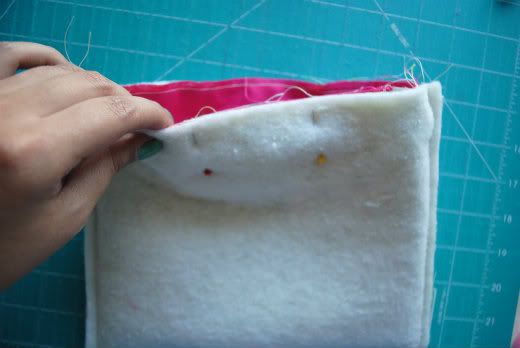
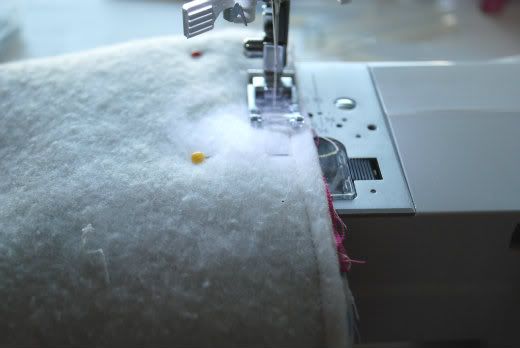
Place your batting pieces behind each of your lining pieces. Place them right sides together and pin in place.
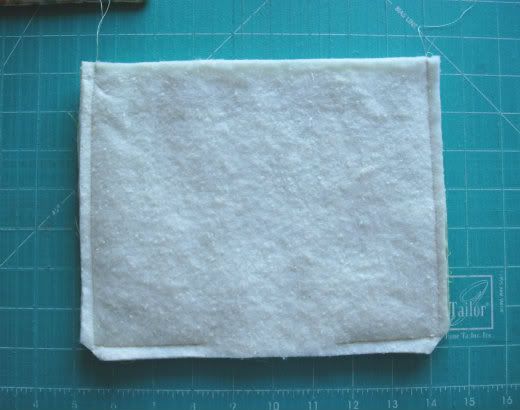
Sew along three sides again, leaving a 3" opening at the bottom for turning. Clip corners.
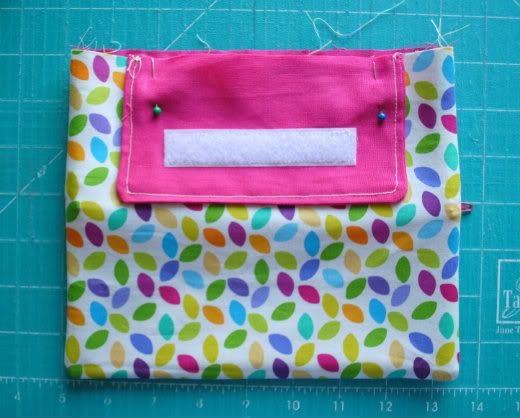
Center the flap to the back of the assembled exterior piece, velcro out, and pin in place.
Place the entire exterior pouch inside the lining pouch, right sides together. Make sure the flap is between the exterior and lining pieces. Pin all around.
Sew all the way around at 1/4" and again at 3/8". Remove all pins and turn right side out. Sew the opening of the lining closed either by hand or with your machine.
Tuck the lining in and press along the opening of your case. Topstitch all the way around.
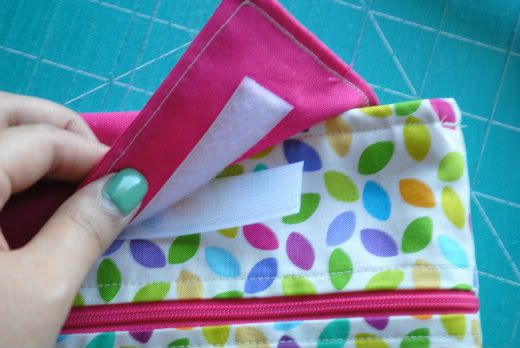
Using the flap as a guide, pin the other side of the velcro on your pouch.
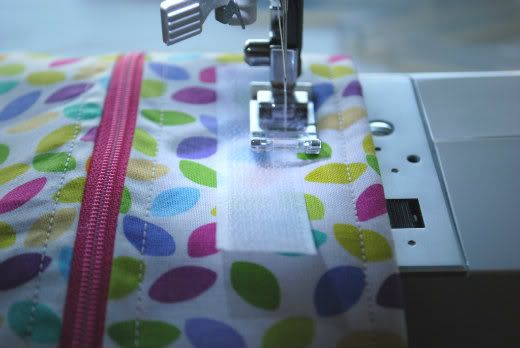
Sew the velcro onto the front of your pouch. And you're all done!
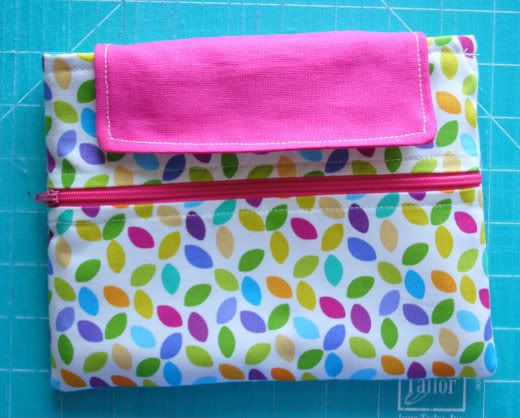
Now admire your new Leap Pad Case!
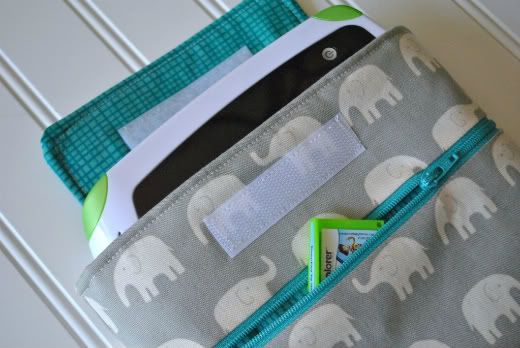
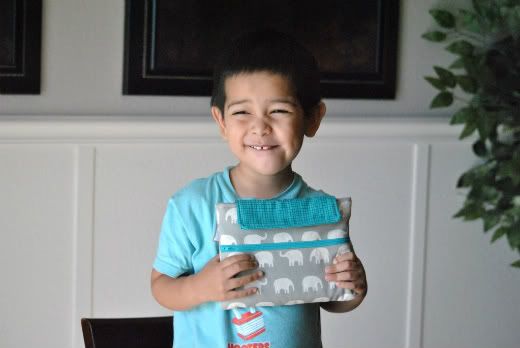
This will surely bring a smile to your little one's face! Hope you enjoy making this. If you have any questions at all about this tutorial or feel that my instructions are hard to follow, please feel free to email me about it! I'll be more than happy to help you out!